
accu-chek guide blood glucose meter
Accu-Chek Guide Blood Glucose Meter: A Comprehensive Guide
The Accu-Chek Guide meter offers a user-friendly experience for blood glucose monitoring. It utilizes Accu-Chek Guide test strips for quantitative measurement. The system is intended for self-testing, providing results in under four seconds with a small sample.
The Accu-Chek Guide blood glucose meter is designed for individuals seeking a reliable and straightforward method for monitoring their blood glucose levels. It’s a key component of the Accu-Chek Guide system, which includes the meter, test strips, and control solution, suitable for self-testing. This meter quantitatively measures glucose in fresh capillary whole blood, typically drawn from the fingertip but also approved for palm testing.
The Accu-Chek Guide aims to simplify the testing process with features designed for ease of use and accuracy. It utilizes the Accu-Chek Guide test strips and is intended for single-person use. With proper handling and adherence to instructions, the Accu-Chek Guide meter can be a valuable tool for managing diabetes effectively.
Key Features and Benefits
The Accu-Chek Guide meter boasts several features designed for user convenience and accurate blood glucose monitoring. One notable benefit is its ease of use, intended for self-testing by individuals. The meter provides quick results, typically in under four seconds, requiring only a small blood sample (0.6 microliters).
Another advantage is the spill-resistant test strip vial, minimizing accidental waste. The meter stores a substantial number of test results, aiding in tracking glucose levels over time. Its wireless capabilities allow for seamless data transfer to compatible devices. Furthermore, the Accu-Chek Guide offers personalized target ranges and provides visual reassurance with its target range indicator. The system also includes a lancing device for comfortable blood sampling.
Intended Use of the Accu-Chek Guide
The Accu-Chek Guide blood glucose monitoring system is designed for the quantitative measurement of glucose levels in fresh capillary whole blood. It is suitable for self-testing by individuals at home or in healthcare settings. The system is intended to be used with Accu-Chek Guide test strips.
The meter is primarily intended for monitoring the effectiveness of diabetes management. This includes helping individuals make informed decisions about diet, exercise, and medication. It’s crucial to comply with safety information found in the user manual and test strip package insert. The Accu-Chek Guide is for single-person use only and not intended for multiple patients.

Setting Up the Accu-Chek Guide Meter
Setting up your Accu-Chek Guide meter involves initial steps to prepare it for use. This includes installing batteries and configuring basic settings like time and date for accurate tracking.
Initial Setup Instructions
The initial setup of your Accu-Chek Guide meter is crucial for accurate readings. Begin by opening the battery door on the meter’s back, pushing the tab, and install the two CR2032 batteries. Ensure they are correctly oriented. After battery insertion, the meter will power on.
Follow the on-screen prompts to select your preferred language. Next, you’ll be guided through setting the date and time. Use the arrow keys to adjust the values and the OK button to confirm each setting. Accurate time and date are essential for tracking your glucose levels effectively.
Familiarize yourself with the meter’s main menu by briefly pressing the OK button. Navigate using the arrow keys to explore settings and options. Always comply with the user manual’s safety information and the test strip package insert for optimal use.
Setting Time and Date
Accurate time and date settings are vital for tracking your blood glucose readings correctly on the Accu-Chek Guide meter. To set these, start with the meter turned on. Briefly press the OK button to access the main menu. Use the arrow keys to navigate and highlight the ‘Settings’ option, then press OK again to select it.
Within the settings menu, you’ll find the ‘Time/Date’ option. Highlight it using the arrow keys and press OK. The meter will prompt you to set the year, month, day, hour, and minutes sequentially. Use the up and down arrow keys to adjust each value to the correct setting.
After setting each value, press OK to confirm and move to the next setting. Once all values are correctly entered, the meter will save the new time and date. This ensures that every blood glucose reading is accurately timestamped for effective monitoring and analysis of your glucose trends.
Using the Accu-Chek Guide Meter
Using the Accu-Chek Guide meter involves preparing for the test, inserting a test strip, applying a blood sample, and understanding the results displayed on the meter’s screen.
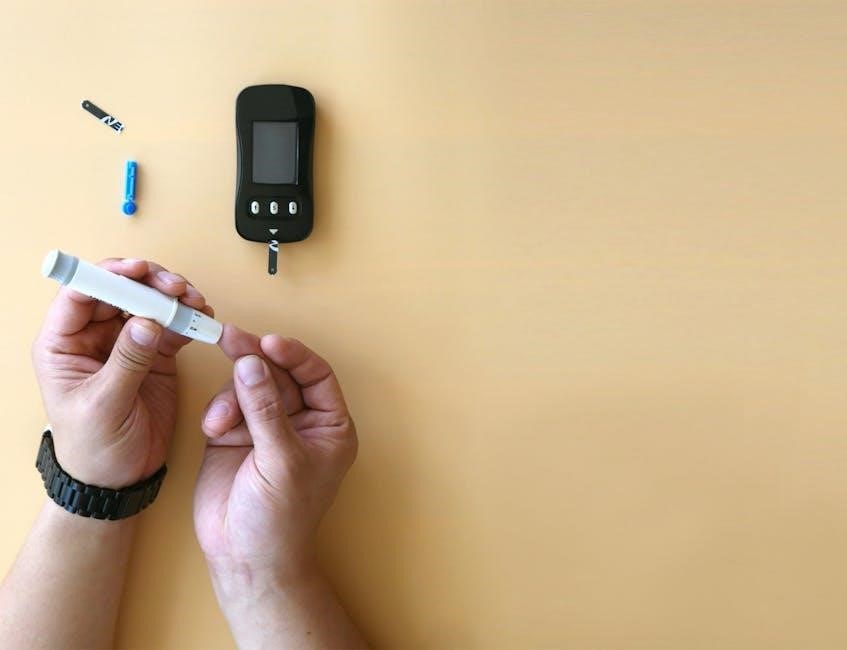
Preparing for a Blood Glucose Test
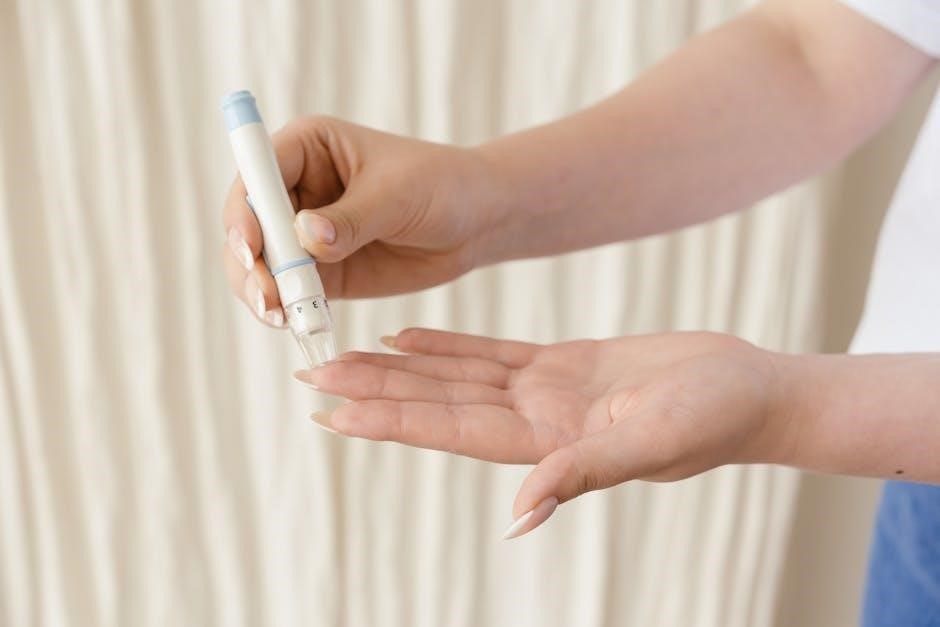
Before starting a blood glucose test with your Accu-Chek Guide meter, gather all necessary supplies. You’ll need the meter itself, Accu-Chek Guide test strips, a lancing device (like the Accu-Chek FastClix), and lancets. Ensure the test strip vial is within its expiration date for accurate results.
Wash your hands thoroughly with soap and warm water, then dry them completely. This step is crucial to avoid contaminating the blood sample and affecting the reading. Prepare your lancing device by inserting a fresh lancet. Adjust the depth setting on the lancing device to a comfortable level that provides an adequate blood drop.
Choose a suitable testing site, typically a fingertip. Alternate fingers each time you test to prevent soreness. Have an alcohol wipe ready if desired, but ensure the area is completely dry before lancing. Make sure the meter is on and ready with a test strip inserted before you lance your finger.
Inserting the Test Strip
To begin your blood glucose test with the Accu-Chek Guide meter, you must first insert a compatible Accu-Chek Guide test strip. Ensure you are using the correct type of test strips designed specifically for this meter to guarantee accurate readings. Always check the expiration date printed on the test strip vial before use.
Carefully remove a single test strip from the vial and immediately close the vial tightly to protect the remaining strips from humidity. Insert the test strip into the meter’s test strip port in the direction indicated by the arrows printed on the strip. Push the strip in firmly until it clicks into place.
The meter will automatically turn on when the test strip is properly inserted. The display should show a flashing blood drop symbol, indicating that the meter is ready to receive the blood sample. Avoid bending or damaging the test strip during insertion.
Applying the Blood Sample
Once the Accu-Chek Guide meter displays the flashing blood drop symbol, you are ready to apply the blood sample to the test strip. Ensure your hands are clean and dry before proceeding. Gently bring the edge of the test strip to the drop of blood obtained from your fingertip or alternate testing site.
The Accu-Chek Guide meter requires a small blood sample volume for accurate readings. Allow the test strip to draw the blood into the sample area. The meter will beep or provide a visual confirmation when sufficient blood has been applied. Do not force the blood onto the strip or smear it.
If the initial blood sample is insufficient, the meter may display an error message. In this case, you may need to repeat the lancing procedure to obtain another drop of blood. Ensure that the blood drop is fresh and has not been contaminated by any external factors.
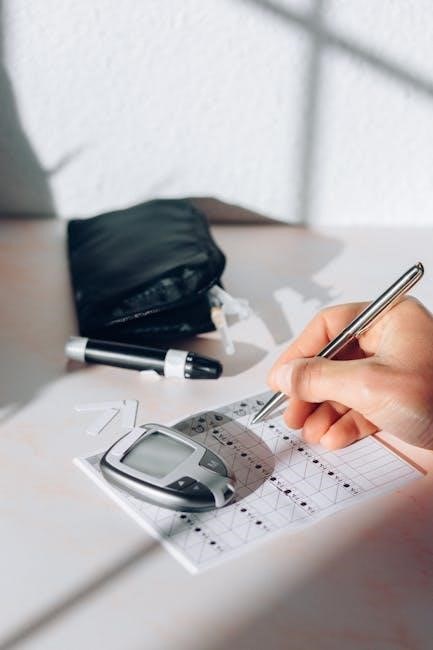
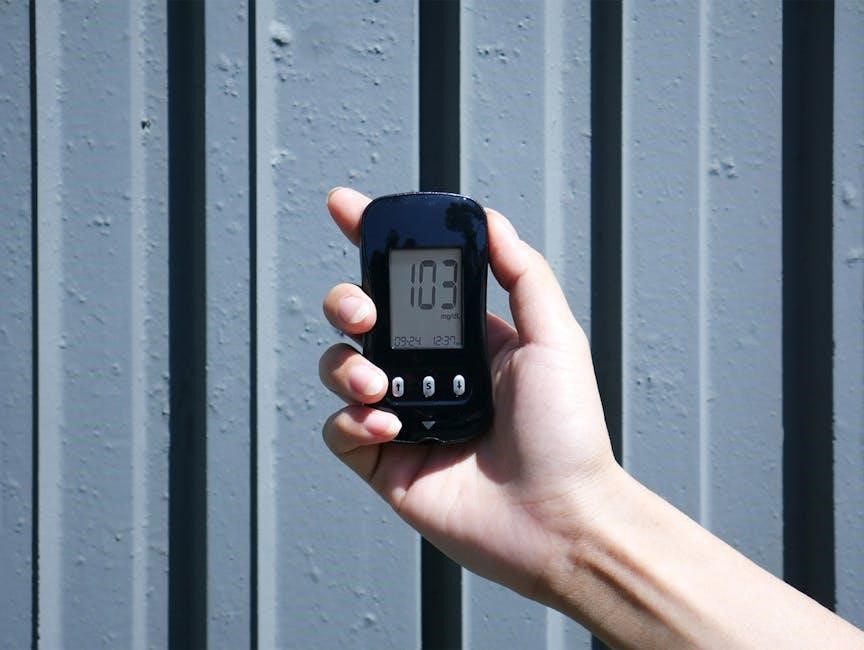
Reading and Understanding Results
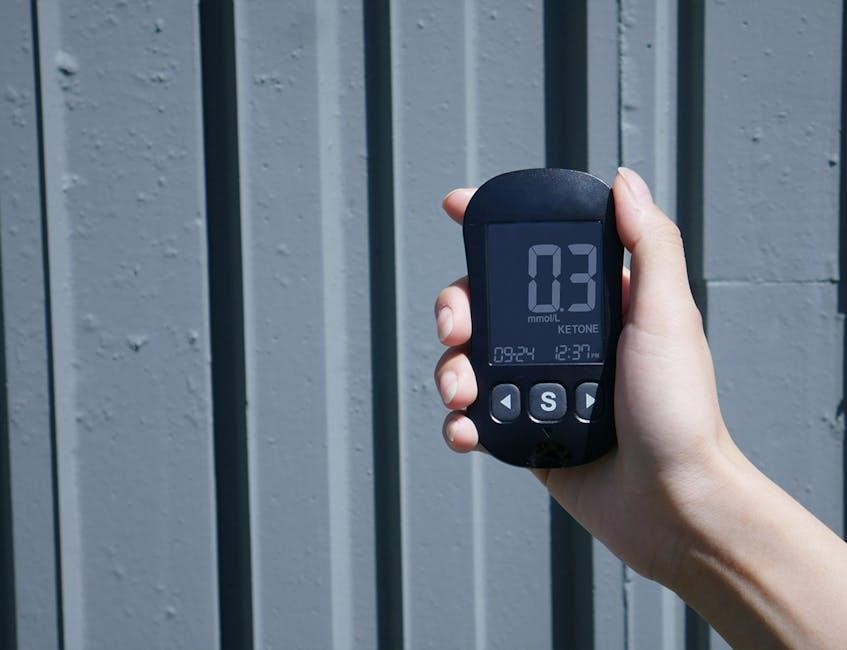
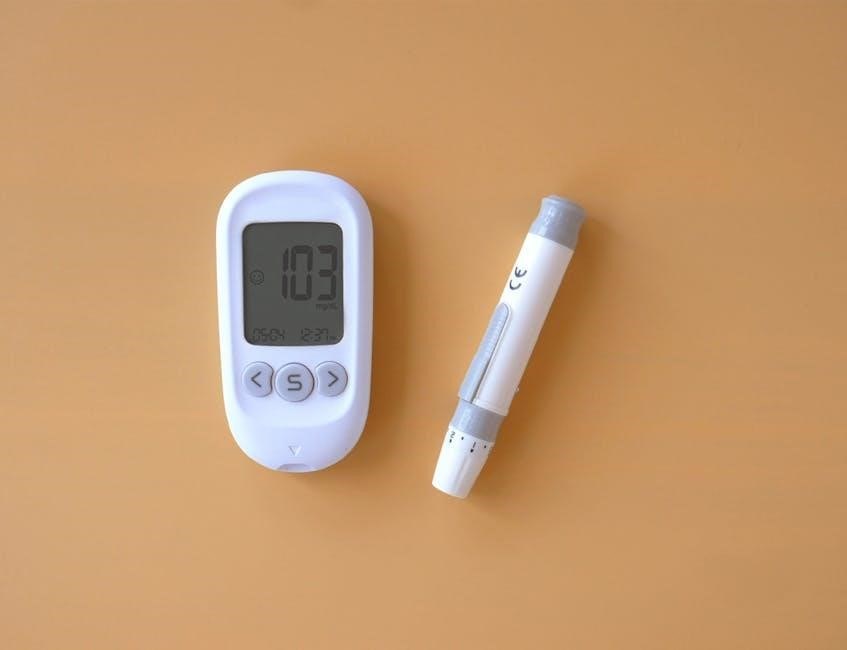
After applying the blood sample, the Accu-Chek Guide meter will begin analyzing the glucose level. The result will be displayed on the meter’s screen within a few seconds. It’s crucial to understand the units of measurement being used (mg/dL or mmol/L) and your target glucose range as advised by your healthcare professional.
The meter may also display a date and time stamp for the test result. Review the result carefully and compare it to your target range. If the result is significantly higher or lower than expected, consider retesting or consulting with your doctor. Keep a log of your blood glucose results to track trends and identify potential issues.
Factors such as stress, diet, and medication can influence blood glucose levels. Always consider these factors when interpreting your results. If you are unsure about the meaning of a particular result, seek guidance from your healthcare provider.
Accu-Chek Guide Test Strips
Accu-Chek Guide test strips are essential for use with the meter. They quantitatively measure glucose in fresh capillary whole blood. Proper handling and storage are crucial for accurate results; always check expiration dates.
Proper Handling and Storage
To ensure accurate blood glucose readings with your Accu-Chek Guide meter, proper handling and storage of the test strips are paramount. Always store the test strips in their original vial with the cap tightly closed to protect them from moisture and air. Avoid exposing the test strips to extreme temperatures, humidity, or direct sunlight, as these conditions can compromise their effectiveness.
Before each use, carefully examine the test strip vial for any signs of damage or tampering. Do not use test strips from a damaged vial. Handle the test strips with clean, dry hands, and avoid touching the test area of the strip. Keep the vial away from children and pets.

After removing a test strip from the vial, immediately close the cap tightly. Use the test strip promptly after opening the vial. Do not transfer test strips to a different vial or container. By following these guidelines, you can maintain the integrity of your Accu-Chek Guide test strips and ensure reliable blood glucose measurements.
Checking Expiration Dates
Prior to using any Accu-Chek Guide test strip, meticulously check the expiration date printed on the vial. Using expired test strips can lead to inaccurate blood glucose readings, potentially impacting your health management. The expiration date signifies the period during which the test strips are guaranteed to provide reliable results when stored and handled correctly.
If the expiration date has passed, discard the test strips properly and obtain a new vial with a future expiration date. Do not use test strips beyond their expiration date, even if they appear to be in good condition. Expired test strips may produce falsely low or high readings, which can be misleading and could result in inappropriate treatment decisions.
Regularly check the expiration dates of your test strips to ensure that you are always using valid and reliable supplies. This simple step can significantly contribute to the accuracy and effectiveness of your blood glucose monitoring routine, promoting better diabetes management.
Troubleshooting and Maintenance
Maintaining your Accu-Chek Guide meter ensures accurate readings; This section covers common error messages and their solutions. It also includes instructions for battery replacement. Consult the user manual for detailed guidance.
Common Error Messages and Solutions
The Accu-Chek Guide meter may display error messages during operation. Understanding these messages is crucial for resolving issues quickly and maintaining accurate blood glucose readings. One common error relates to test strip problems, such as using expired strips or improperly inserted strips. Always check the expiration date on the test strip vial and ensure the strip is fully inserted into the meter before testing.
Another frequent error involves insufficient blood sample application. Make sure to apply an adequate drop of blood to the test strip’s designated area. The meter may also display error messages related to control solution testing. When performing a control test, ensure the control solution is within its expiration date and follow the manufacturer’s instructions carefully. If persistent errors occur, consult the Accu-Chek Guide user manual for further troubleshooting steps or contact customer support for assistance.
Low battery can also trigger error notifications. Replacing the batteries as indicated in the manual can resolve this. Regularly check the meter’s display for any unusual symbols or messages, and address them promptly to prevent inaccurate results.
Battery Replacement Instructions
The Accu-Chek Guide meter operates on two CR2032 batteries. When the meter displays a low battery symbol, or if the meter fails to power on, it’s time to replace the batteries. First, power off the meter. Locate the battery door on the back of the device. To open the battery door, push the tab toward the door and lift it upward to open.
Remove the old batteries. Insert the new CR2032 batteries, ensuring the positive (+) side faces up. Close the battery door until it clicks securely into place. After replacing the batteries, the meter may prompt you to reset the time and date. Refer to the “Setting Time and Date” section of the user manual for guidance.
Proper battery replacement ensures reliable performance and accurate readings. Always use the correct type of batteries and dispose of old batteries responsibly according to local regulations. If you encounter any difficulties, consult the Accu-Chek Guide user manual or contact customer support.
Using Control Solution
The Accu-Chek Guide system includes control solution to verify the meter and test strips are working correctly. Control tests ensure accurate results and should be performed regularly and when instructed.
When to Use Control Solution
Control solution is used with the Accu-Chek Guide meter to ensure accuracy. It is essential to perform a control test: before you use the meter for the first time, if you open a new vial of test strips, or if the test strip vial has been left open. Also, use control solution if you suspect your meter or test strips are not working properly, if your blood glucose results don’t match how you feel, or if you dropped the meter. Furthermore, it is advised to use control solution if you have repeatedly received unexpected blood glucose results, or after replacing the batteries in your Accu-Chek Guide meter. Performing these tests helps ensure you can rely on your readings for proper diabetes management. Always refer to your user manual.
Performing a Control Solution Test
To perform a control solution test with your Accu-Chek Guide meter, first, ensure you have the control solution and test strips. Check the expiration date on the control solution bottle and test strip vial. Insert a test strip into the meter. Next, gently shake the control solution bottle. Apply a drop of the control solution to the edge of the test strip, just as you would with a blood sample. The meter will then display the control solution result. Compare this result to the acceptable range printed on the test strip vial. If the result falls within this range, your system is working correctly. If not, consult the troubleshooting section of your user manual or contact Accu-Chek customer support for assistance. Remember to record your control solution test results for future reference.